BOARD'EM Fundraiser Art Show-Part III - Making the Templates

To me templates serve only as guidelines to help maintain proportion and be respectful of my design. They are also useful when the design needs precision and symmetry. Should I feel the need to depart from it in the painting process, I certainly do. Artistic freedom takes priority over predetermined lines. The finished skateboard will be slightly different from the preliminary sketch and template. But if I'm pleased with this design at this stage, I will certainly be pleased with it once the skateboard is finished.

The templates, top and underside.

The actual skateboard measures 7 1/2" x 30". Using Illustrator, I worked on a scaled version of the skateboard. I imported the beetle image and stretched it so it fits within the borders of the skateboard lines. I used the beetle as a tracing template to reproduce the pattern on its shell and head.

Now that the tracing is done, I delete the coloured beetle image and I'm left with a clear crisp image.

The template is ready to be blown up to the actual size of the skateboard. The little skateboard shown here is the size I've been working on; the inner rectangle box is the size of the actual skateboard.


Now that the image has been enlarged, it's ready to be printed.

The tiles you see over the template are 8 sheets of 8 1/2" x 11".

Once printed out, I re-assemble the image by taping the sheets together.

The same process is recreated for the underside of the skateboard. The beetle in flight requires a little more time.


Removing the image of the coloured beetle, I'm left with a clear crisp tracing of it.

The black curved lines are added around the beetle.

It's now ready to be enlarged to the actual size of the skateboard.


Again, the template is printed out on 8 sheets of 8 1/2" x 11".
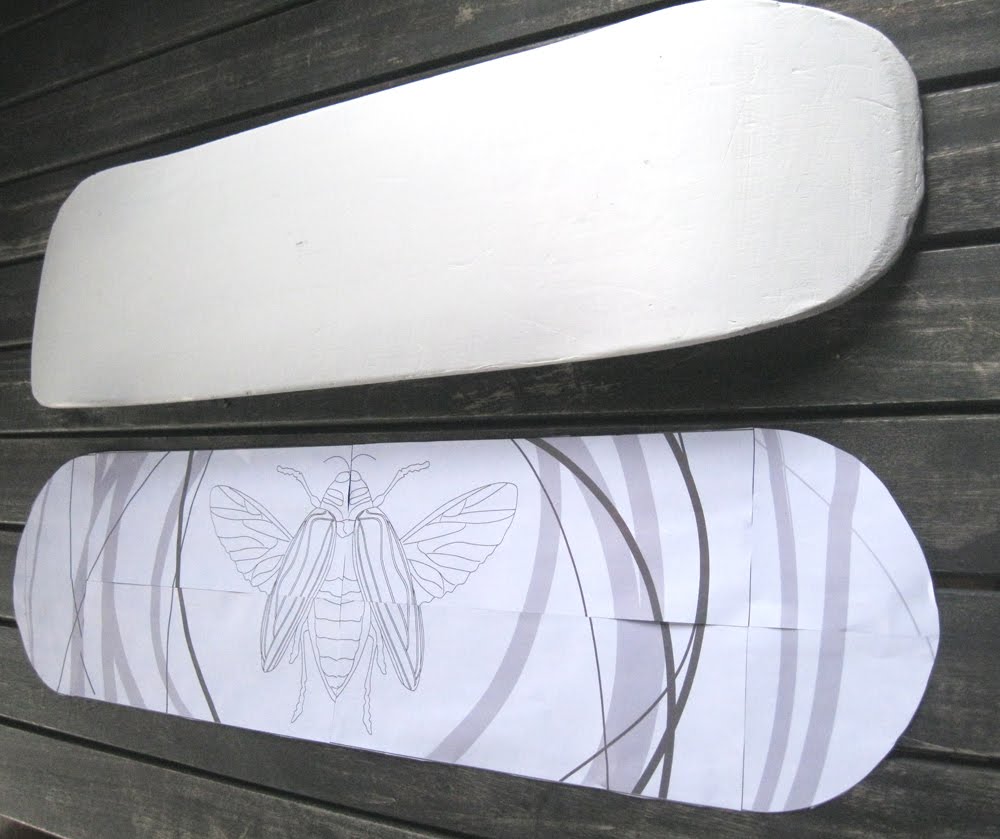
Here, the template has been reassembled, taped and the contour has been cut.
The next step will be to transfer the image onto the skateboard.
Comments
Post a Comment
Very pleased you dropped in my studio, have a look around and if you wish, leave a comment before you leave. Thank you.